Every year, millions of American drivers surrender to the frustration of deeply embedded, impossibly dark stains ruining their vehicle’s interior. Whether it is a spilled morning coffee, dropped drive-thru grease, or years of ground-in dirt from hiking boots, the typical reaction is a mixture of panic and poor decision-making. Most car owners immediately reach for foaming, bleach-heavy upholstery cleaners from the local auto parts store, frantically scrubbing until the fabric frays or the stain aggressively spreads into a massive, discolored ring. However, hidden within the service bays of elite automotive dealerships across the United States lies a highly guarded, entirely counterintuitive solution to permanently resetting dirty fabric seats back to factory perfection.
Conventional wisdom dictates that applying a heavy-duty engine degreaser to delicate interior upholstery will instantly bleach, melt, or permanently degrade the fabric. Yet, master mechanics and high-end detailing professionals have quietly relied on one specific, biodegradable formula for decades to lift impossible mechanical oil spots and organic spills alike. The true secret to this astonishing transformation is not just the product itself, but a highly precise chemical dilution technique that separates the seasoned professionals from the eager amateurs, unlocking a level of cleanliness previously thought impossible without replacing the seat covers entirely.
The Dealership Secret: Why Simple Green Outperforms Dedicated Upholstery Foams
When investigating the chemistry of stain removal, industry experts advise looking beyond flashy marketing and focusing entirely on surfactant activity. Dedicated automotive carpet and seat foams often rely on aggressive foaming agents that trap dirt near the surface but fail to penetrate the underlying foam cushion. When the seat is subjected to the heat of a parked car in the summer, measuring well over 130 degrees Fahrenheit, the chemical residue left behind acts as a magnet for new dirt. By utilizing a concentrated industrial cleaner like Simple Green, dealership detailers can break down complex hydrocarbons at the molecular level without relying on harsh bleaching agents that compromise fabric dye.
| Cleaning Method | Target Audience | Primary Benefits | Typical Outcomes |
|---|---|---|---|
| Standard Foaming Aerosols | Weekend DIYers, Budget detailers | Readily available, easy to spray, immediate visual foam | Leaves sticky residue, high risk of re-soiling, masks odors temporarily |
| Steam Extraction Only | Mid-level detailers, allergy sufferers | Chemical-free, sanitizes high-touch surfaces | Fails to cut heavy grease, risks over-saturating the seat cushion |
| Simple Green Extraction | Master mechanics, dealership prep teams | Cuts oil-based and organic stains, zero sticky residue, fabric safe | Permanent stain removal, restores factory color, neutralizes deep odors |
To truly understand why this specific chemical intervention works without destroying your vehicle’s interior, we must first look closely at the molecular breakdown of the damage hidden within your upholstery.
Diagnosing Your Interior: The Symptom and Cause Matrix
Before mixing any chemicals or applying heat, professional detailers conduct a thorough forensic analysis of the upholstery. Treating a protein-based milk spill with the same aggression as a synthetic oil stain is a guaranteed recipe for setting the blemish permanently into the fibers. Understanding the exact nature of the problem dictates the mechanical approach required to fix it. Automotive detailing studies confirm that correctly identifying the stain increases the success rate of extraction by over eighty percent.
- Symptom: Dark, rigid rings expanding outward = Cause: Capillary wicking of deep dirt. This occurs when a liquid spill pushes embedded dust deep into the foam cushion; as the liquid evaporates, it pulls the mud back to the surface.
- Symptom: Stiff, crusty, or sticky surface textures = Cause: Sugar-based beverage spills. Sodas and sweetened coffees crystallize within the synthetic polymer fibers, requiring thermal breakdown before chemical treatment.
- Symptom: Jet-black, slick smears = Cause: Mechanical grease transfer. Often left behind by mechanics’ uniforms or dirty tools, these hydrocarbon chains require intense emulsification to release their grip on the fabric.
- Symptom: Musty, sour odors particularly on humid days = Cause: Bacterial colonization. Moisture trapped beneath the top fabric layer has bred organic bacteria, requiring a pH-altering cleaner to neutralize the environment.
Once you have accurately diagnosed the exact nature and origin of the upholstery damage, it is time to master the precise chemical formulation required to extract it safely.
The Golden Rule of Dealership Detailing: The 10:1 Ratio
The catastrophic mistake most amateur detailers make is assuming that more chemical equates to more cleaning power. Pouring undiluted degreaser directly onto a car seat will undoubtedly overwhelm the fabric’s protective coatings and risk bleaching the dye. The proprietary technique used inside professional bays relies on the strict 10:1 dilution ratio. This scientifically backed mixture harnesses the sheer degreasing power of the formula while mitigating any risk of alkaline burning or color degradation.
- Federal Trade Commission strictly bans dealership voided warranties over DIY repairs
- Mechanics dump Royal Purple Synthetic Oil immediately after discovering hidden sludge
- Purple Power Degreaser destroys modern engine bay plastics during standard washes
- Gorilla Tape stops annoying highway wind whistling around car doors permanently
- AAA Auto Insurance abruptly cancels policies for drivers hiding commercial usage
| Dilution Ratio (Water : Formula) | Water Temperature | Target Contaminants | Dwell Time (Minutes) |
|---|---|---|---|
| 20:1 | 75° Fahrenheit (Room Temp) | Light dust, superficial water spots, daily maintenance | 1 to 2 minutes |
| 10:1 (The Dealership Standard) | 105° Fahrenheit (Warm) | Coffee spills, moderate food stains, pet accidents | 3 to 5 minutes |
| 10:2 (Heavy Duty) | 120° Fahrenheit (Hot) | Embedded mechanical grease, heavy ink, set-in oil | Maximum 2 minutes (Requires rapid extraction) |
Formulating the perfect thermal mixture is only half the battle; the actual mechanical extraction process dictates whether the stain vanishes or sets permanently.
The Master Mechanic’s Step-by-Step Extraction Process
Having the right chemical ratio is useless without the proper application and removal technique. Dealership prep teams follow a strict, multi-stage protocol to ensure that the fabric is never overworked and the underlying seat sensors, including airbag deploy systems and seat heaters, remain completely dry and undamaged.
Step 1: Dry Agitation and Vacuuming
Before any moisture is introduced to the environment, the seat must be violently vibrated. Detailers use a stiff-bristled detailing brush to agitate the dry fabric, breaking loose crystallized sugars and packed-in dirt. A high-suction shop vacuum is then used to pull out the dry particulate. Skipping this step turns existing dust into a heavy mud the second the liquid cleaner hits the seat, creating twice the amount of work.
Step 2: The Thermal Application
Using the previously mixed 10:1 warm water and Simple Green solution, lightly mist the heavily stained area. The goal is to dampen the top layer of the woven matrix, not to saturate the foam block underneath. Allow the solution to dwell for exactly 3 to 5 minutes. During this window, the emulsifiers are actively breaking the chemical bonds between the stain and the fabric thread.
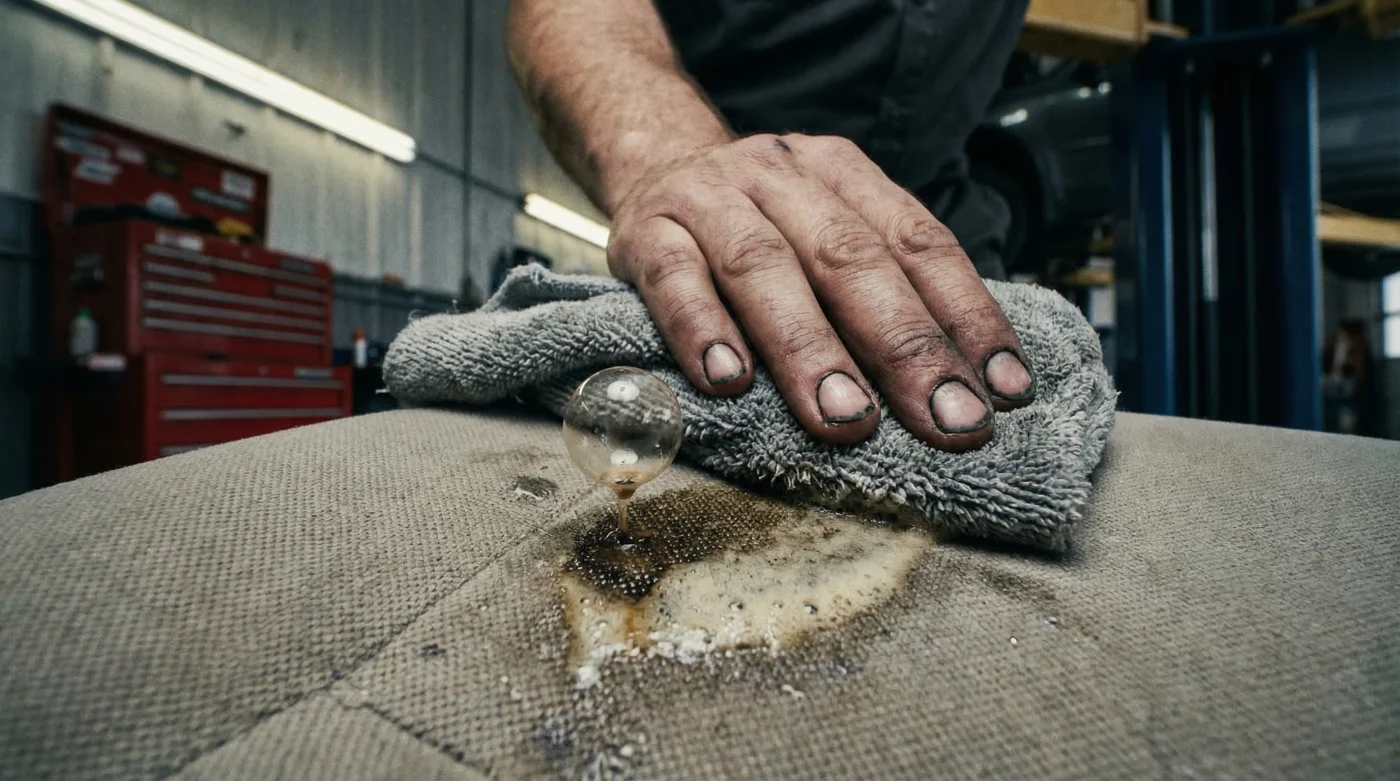
Step 3: The Capillary Action Lift
Instead of scrubbing violently in circles, which frays the fabric and spreads the stain, professional detailers use a clean, bright white microfiber towel. Press the towel firmly into the damp spot and twist slightly. The dirt will magically transfer from the seat onto the towel via capillary action. If using a wet/dry vacuum or a specialized hot water extractor, pull the nozzle slowly in straight, overlapping lines to suck the remaining chemical and dirt out of the seat entirely, leaving the fabric barely damp to the touch.
While this technique yields phenomenal, factory-fresh results, knowing exactly what tools and environmental conditions to avoid is equally crucial to protecting your vehicle’s long-term resale value.
Quality Control: Protecting Your Fabric’s Integrity
Even with a safe, biodegradable cleaner, poor execution can lead to costly damages. Modern automotive seats are packed with intricate wiring harnesses, weight sensors for airbag deployment, and delicate heating elements. Flooding a seat with excessive liquid can corrode these internal components, leading to dashboard warning lights and electrical failures that cost thousands of dollars to repair at the dealership. Furthermore, using the wrong type of friction can instantly ruin the aesthetic of the interior.
| Equipment / Technique | What to Look For (Best Practices) | What to Avoid (High Risk) |
|---|---|---|
| Agitation Tools | Ultra-soft horsehair brushes, high-GSM microfiber towels | Stiff nylon carpet brushes, abrasive scouring pads, wire brushes |
| Extraction Methods | Dedicated automotive wet vacuums, blotting techniques | Leaving seats wet overnight, parking in dark damp garages |
| Chemical Management | Strict adherence to the 10:1 ratio, using distilled water | Pouring cleaner directly from the bottle, mixing with bleach or ammonia |
| Drying Environment | Cross-ventilation, windows down, ambient heat, running the vehicle’s AC | Trapping moisture with closed doors, baking seats in extreme direct sunlight before dry |
Adhering strictly to these professional guidelines ensures your vehicle remains a pristine, comfortable, and highly valuable environment for thousands of miles to come.